There has been a lot of various colds and flu going around the last few weeks, and despite taking my daily immune boosters, I came down with the flu anyways over Christmas. Not nearly as bad as my husband, but I still felt tired, stuffy, and achy. Mostly stuffy.
It seems like I almost always get some form of nasal or chest congestion no matter what cold or flu I catch. My sinuses get really stuffy and I start to develop a phlegmy cough that can last several weeks thanks to having asthma.
So, for times when I really need something that can cut through the mucus, bring down both nasal and bronchial inflammation, and clear up air passages, it’s always my Olba’s Nasal Inhaler I reach for.
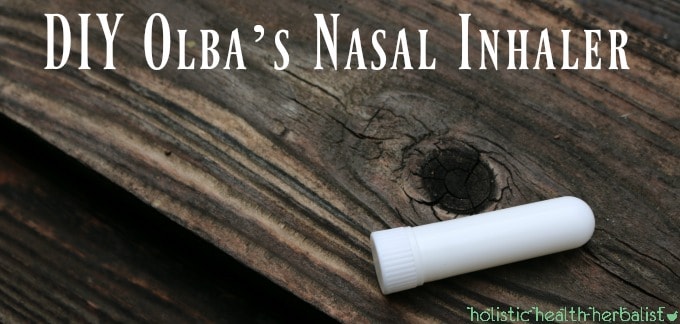
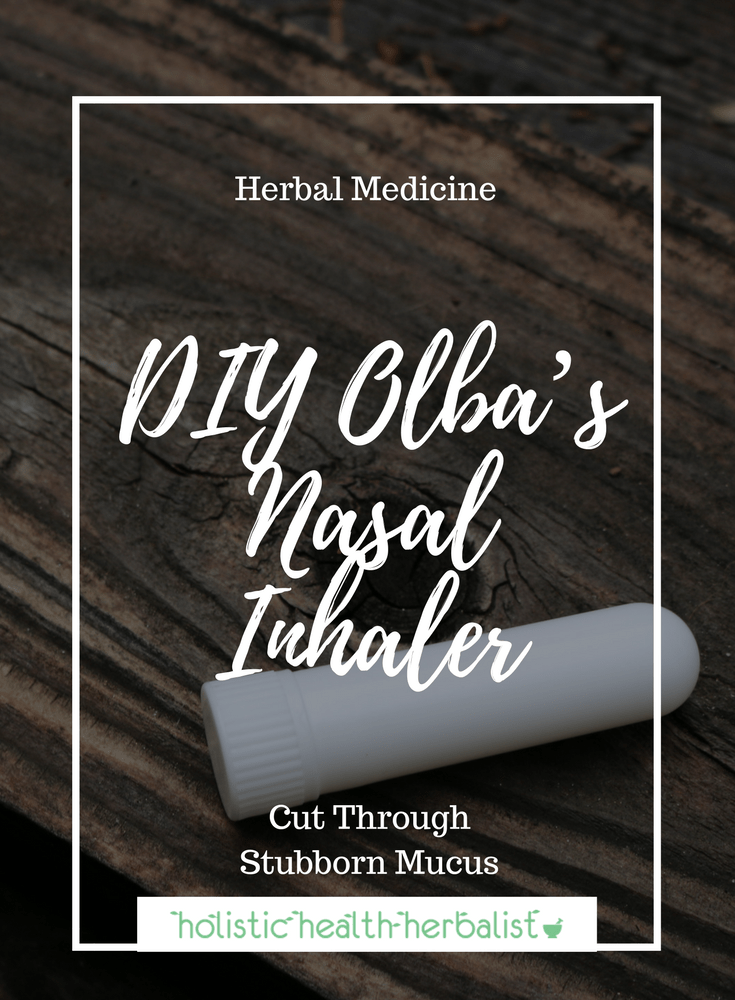
DIY Olba’s Nasal Inhaler
For those of you who have used Olba’s before, you know that their products are super potent and powerful. For the faint of heart, they can actually be a bit too strong! I’m thinking this may be because of the menthol they use in their formulas.
So, with that in mind, I wanted to make something that still packed the punch of the original Olba’s Nasal Inhaler without some of the clarifying burn they’re known for.
DIY Olba’s Nasal Inhaler Recipe
Making this recipe is super quick and easy!
Here’s what you’ll need to make one nasal inhaler:
• One empty nasal inhaler
• 2 drops wintergreen essential oil – contains clarifying menthol that helps soothe irritated tissues
• 3 drops cajeput essential oil – helps open the lungs and sinuses
• 5 drops peppermint essential oil – contains menthol which helps cut through mucus
• 5 drops eucalyptus radiata – one of the best oils for clearing congestion
You can create a master blend by multiplying the above formula by 10 and storing it in an empty 5ml essential oil bottle.
This can then be used in room sprays, a diffuser, or used in chest rubs, massage oil, and other cold and flu recipes.
When applied topically, this blend will help soothe body aches and fever.
This blend cannot be used on/for children under 2 according to Olba’s. However, I highly recommend checking out this post before you make a decision on whether or not this blend is right for your child.
Don't want to make your own inhaler? You can buy the original Olba's here.
Loving Preparation – DIY Olba’s Nasal Inhaler
1. Remove the cylindrical pad from the nasal inhaler and place it in a clean dish.
2. Next, evenly drip each essential oil over the pad or use the premade master blend to add the EOs.
3. Re-insert the pad into the nasal inhaler and cap closed.
To Use
Whenever you feel like you need a bit more clarity in your lungs and sinuses due to seasonal allergies or cold and flu, simply put the open end of the nasal inhaler to one nostril and press the other closed with your finger.
Breathe in gently through the nasal inhaler and exhale through the mouth.
Do this for 1 or 2 good inhalations.
You will immediately feel the penetrating and refreshing effects of the essential oils as they clear away stuffiness and open up the lungs.
And, since these essential oils are anti-bacterial, anti-viral, and anti-inflammatory, your cold doesn’t stand much of a chance!
Just be sure not to share your nasal inhaler with others as you can still spread your germs.
Use the inhaler as needed for the best results.
The potency of this blend should last a good 3 months if you keep the inhaler tightly closed when not in use.
You may also enjoy reading:
Herbal Remedies for Dry Sinus
Herbal Remedies for Stuffy Nose
How to Naturally Treat Seasonal Allergies
Sickroom Spray Recipe for Cold and Flu
Essential Oils for Boosting the Immune System and Fighting Cold and Flu


Leave a Reply