Hey everyone! I've finally had a little bit of time from work and school to squeeze in a little blog post for you all =) I hope you enjoy it!
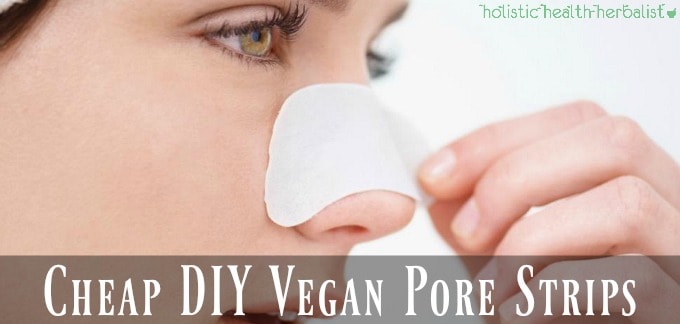
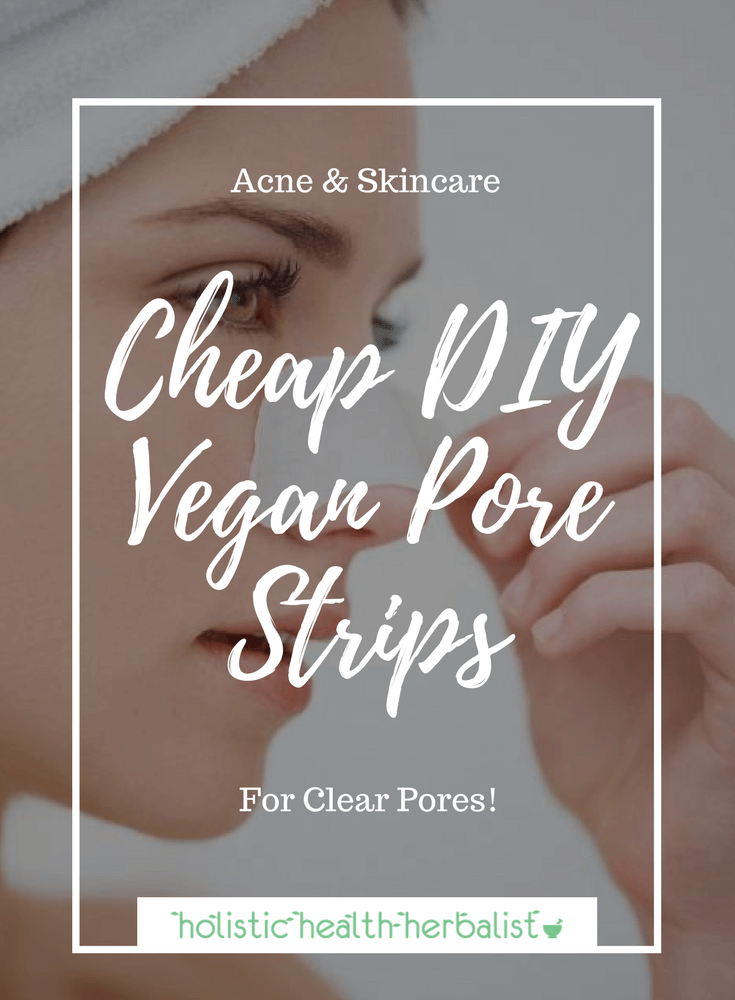
This week I'm talking about some cheap alternatives to buying expensive Biore Pore Strips. These homemade vegan pore strips are quick and easy to make, giving you more treatments that are just as effective for a fraction of the price.
Are DIY Vegan Pore Strips Better than Non-vegan Versions?
So you may have come across a few recipes out there for homemade pore strips that use egg whites as their "glue" substitute. Egg whites are great and all, and are actually quite effective at removing gunk from your pores... but I really can't handle the smell of raw egg (even when using very fresh eggs). Suffice to say that this aversion comes from a rather unpleasant experience with a rather unpleasantly potent hand cream sold at work. I've tried adding essential oils to the raw egg "pore strip" hoping to improve the smell, but to no avail. There certainly are downsides to having a very strong sense of smell =(
Making vegan pore strips gets rid of this problem entirely, and since they're vegan, you don't need to use egg whites, milk, or gelatin to make them effective. Plus, these pore strip recipes will last up to a month if kept in the fridge, which is waaaay longer than 3 days for non-vegan versions.
Both vegan and non-vegan recipes work equally well, so it's up to which ones you want to try. Today, I will be talking about vegan alternatives and perhaps some non-vegan recipes in the future.
...On to The Recipes!
How to Make Homemade Vegan Pore Strips
Homemade Vegan Pore Strips Version 1-
What You'll Need-
• 1 TB Agar Agar
• 1 TB alternative milk like almond, rice, or soy
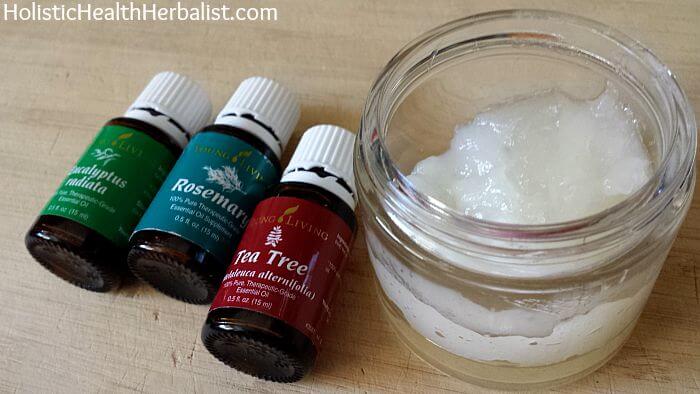
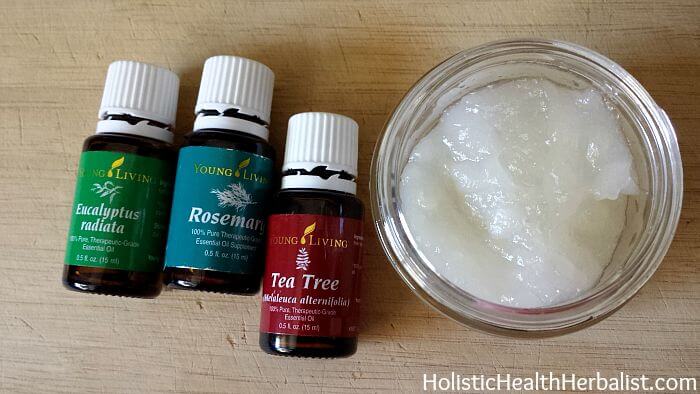
• 1 drop Tea Tree essential oil
• 1 drop Eucalyptus essential oil (I like the Radiata variety)
• A few squares of standard toilet paper or tissue. Fancy fluffy stuff won’t work for this.
Loving Preparation - DIY Vegan Pore Strips Recipe
• In a double boiler (I use a pyrex measuring cup in a pan of water), add the alternative milk and mix in the agar agar.
• Gently warm the mixture until it becomes thick enough to spread in an even layer on the skin. This usually takes about 10-20 seconds.
• Alternately, you could just microwave the mixture in a small bowl for 10-20 seconds to achieve the same results.
• After the mixture has been removed from the heat, add your 2 drops of essential oil and mix in thoroughly. Make sure that you don't add these before heating or their medicinal qualities might evaporate.
We're using tea tree and eucalyptus essential oils for their super fresh feel. You can get the best ones I've used here.
[yumprint-recipe id='84']Homemade Vegan Pore Strips Version 2-
What You’ll Need
• 1 TB spring water
• 1 TB Xanthan Gum
• 1 drop Tea Tree essential oil
• 1 drop Eucalyptus essential oil
Preparation
• Using the same method as version 1 gently warm the mixture in a double boiler or microwave for 10-20 seconds until thickened.
• Once removed from the heat, add your oils and mix thoroughly.
Application Instructions
1. Open your pores by applying a very warm cloth over your problem areas. For me, this is always my nose and chin.
2. Once the pores are open, cleanse the area with a soap that removes oil. You want to make the blackheads as sticky as possible so that they can be easily removed.
3. Apply a thick layer of facial clay like bentonite or rhassoul clay to absorb extra oil from the pores and blackheads. This will make the blackheads stick to the “glue” better.
4. After the mask has dried, rince with very warm water to open your pores again.
5. Take a flat makeup brush and use it to apply an even layer of one of the homemade vegan pore strip recipes to the problem area.
6. Let the layer dry.
7. Once it dries, apply another thick layer of “glue” over it.
8. While the second layer is still wet, firmly apply a square of toilet paper over it. Make sure to press down gently to make sure you get as many blackheads as possible.
9. Let the first tissue layer dry and repeat with letting one layer of glue dry and then applying tissue to the second layer of glue while it’s still wet.
10. Continue these steps until you have 4-5 layers of tissue paper.
11. Allow the pore strip to dry completely! It should feel like a hard shell when it’s done.
12. When dry, gently peel from the outside towards the middle. Make sure that you are pulling the pore strip up and away from the skin for best results!
This also works without toilet paper though not as effectively.
A good way to get longer lasting results is by closing and disinfecting the pores. You can do this by wiping your freshly unclogged pores with a cotton ball containing 1 drop of tea tree essential oil and a bit of water, green tea, or rose water to help kill any remaining bacteria left behind.
The astringency from the essential oil will help close the pores, making them appear smaller and become less likely to get clogged as badly as before. With regular use, you have eliminate blackheads by a significant amount!
I found that by using these homemade pore strips ever 2-3 days for about 2 weeks gave great everlasting results! I only ever need to use homemade pore strips every week and a half or so, a huge improvement over the need to use them every 3 days in the past.
I hope you give them a try!
For more pore related articles look below:
The Best Vegan Pore Strips Recipe
Ultimate Pore Strip Secret- The Best Way to Use Biore Pore Strips
How to Remove Blackheads Naturally
Could Jojoba Oil be your Cure for Blackheads?
Moroccan Red Clay- Blackheads Be Gone!
The Cheap and Easy Way I Got Rid of All My Blackheads For Good


Karolin says
I tried the version with agar, but failed miserably. I used oat milk, maybe that was my first mistake? One tablespoon of oat milk and agar didn't even nearly become a paste, just a powdery mess (I even microwaved it for 10 sec about 5 times to see if it would melt, but it didn't)... I ended up desperately pouring several more tablespoons of oat milk into the mixture to even make it into a liquid. In the end, it all just set into a lumpy mess 🙁 You did use agar agar powder, not flakes, right?
Tash says
Hi Karoline!
That's so weird! I used the powder and it was fine...hmmmm I wonder what happened! Since I wrote this post, I have been experimenting with other vegan pore strip alternatives and have found two options that were more fool-proof: arrowroot powder or xanthan gum mixed with hot water. It seems like it's easier to get these to work, so maybe give those a try. Best of luck!
Karolin says
I could easily get hold of arrowroot powder! (Xanthan gum is more difficult, I'd have to visit a special shop to find one, especially as I'd like it to be non-GMO.) Is it the same proportions (1 TB arrowroot for 1 TB water) as the xanthan gum in your recipe?
Tash says
Hello again!
Mix 1 TB of arrowroot powder with 2 TB of very hot water. Mix as you pour in the water. The consistency should be syrupy. Apply it to the blackheads in an even somewhat thick layer and allow it to dry completely. It will feel really tight and can be uncomfortable to peel off if it's on very sensitive areas or by your hair line so be careful when applying it! It may come off in pieces (like dried paint) but it seems to work very well. Your skin maybe also be red afterwards but it will go away quickly. Let me know how it goes! I have been able to remove almost all of my blackheads using this method 🙂
Gayle says
This happened to me, too! I tried it twice!!
Erin says
Hi! I was wondering if it still works to do the second method but using agar agar instead, like will the agar and water work the same? Thank you 🙂
Tash says
Hi Erin!
I haven't tried making the vegan pore strips with agar agar and water before for the second method. As long as the goo sticks and hardens enough on the blackheads, it should do just fine! Let me know if it works out for you 🙂
Jenaya Paradis says
How would you go about storing it the fridge? Any special prep?What about taking it out to use again? Could it be used as is?
Tash says
Hi Jenaya!
This recipe doesn't store well because it tends to gel up and harden once mixed together. It's intended for immediate use 🙂 Hope this helps!
Kelly says
So very informative! Awesome post - thank you 🙂
Tash says
Thanks Kelly! =)