I’ve always been a fan of make-up and until I read the book “The Life-Changing Magic of Tidying Up”, I used to own at least a dozen different foundations. You see, I used to have some pretty bad cystic acne that liked to leave scars, hyperpigmentation, and clogged pores in its wake. So, in order to hide not only my skin but also my embarrassment, I would pack on the thick foundations and concealer in order to cover up my acne problems.
Well, fast forward a number of years and I no longer have to battle acne like I did before. In fact, I rarely ever get a breakout unless it’s near my cycle and even then, it’s usually just a single and very small blemish.
However, I still like to keep my skin tone looking as balanced as possible and in order to accomplish this I reach for a tinted moisturizer.
To give you a bit of info about my skin, it’s sort in a weird state where I feel like it doesn’t quite know what it wants to be.
It’s pretty dang oily but can also feel too stripped or dry if I wash is with lathering cleansers. It’s also a bit acne prone (which is why I can’t use a lot of regular foundations), and it’s beginning to show its very first signs of aging (ack!). It also like to be red at different times throughout the day.
So, in order to cover all the bases, I needed something that would help give my skin the moisture it needs in order to control both oil and dryness, not clog my pores, give me controllable coverage that also balances redness, and help keep my skin youthful and wrinkle free.
This is where making your own tinted moisturizer can really come in handy because it not only allows you to control coverage and a number of other factors, but also allows you to control what goes into the final product as far as ingredients.
So, say you’ve found an amazing mineral foundation powder that works really well for your skin and you also happen to have the perfect moisturizer. You could simply mix these together until you reached the desired coverage to form the perfect tinted moisturizer that fits your skin’s unique needs.
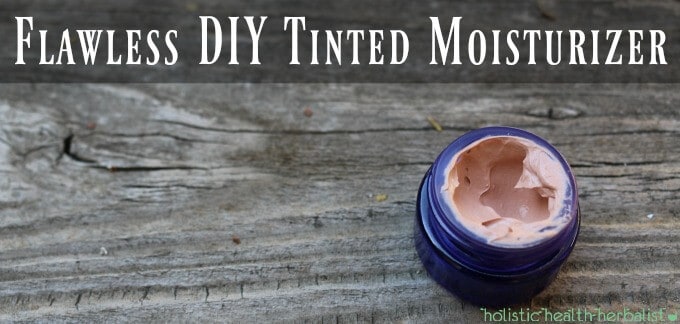
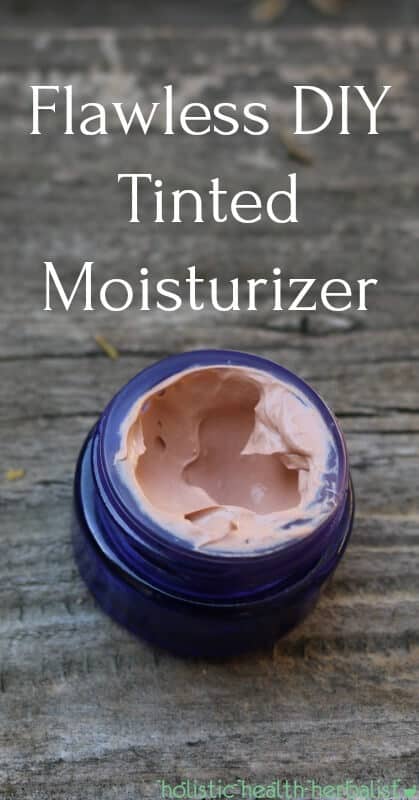
How to Make Flawless DIY Tinted Moisturizer
I love using simple hacks like this to create new yet effective skincare. What’s even better is that a tinted moisturizer can be as light or as heavy as you need for any given season.
Adding more or less mineral foundation will allow you to create light, medium, or even full coverage making finding your perfect shade a snap.
I personally love adding a few different ingredients to help give me the exact mixture I’m looking for that hits all the bases.
Here’s what I like to use for my flawless DIY tinted moisturizer:
• A small container to store the tinted moisturizer
• A clean dish for mixing
• A small cosmetic spatula for mixing
• A moisturizer that suits my skin’s needs for the season (this can be lotion, day cream, a favorite facial oil, sunscreen, etc.)
• A mineral foundation powder or liquid or even a mineral based concealer. I like to use products with clean ingredients that do not clog my pores. You can even learn how to make your own make-up base HERE.
• Essential oils (these can help control blemishes, aging, redness, etc.)
Loving Preparation – DIY Tinted Moisturizer
1. Begin by deciding what container you want to use for storage. Old foundation bottles with a pump top that have been thoroughly cleaned work well for this but you can also use a small jar like I did or any other container you like. Just make sure it’s clean.
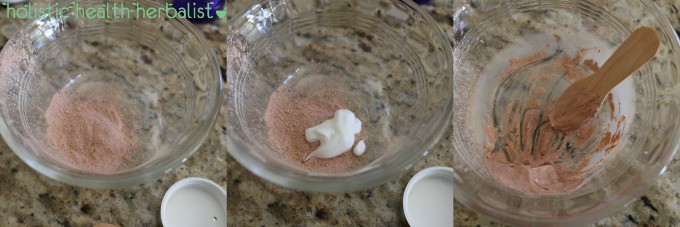
2. Next, in a small mixing bowl, add in your moisturizer of choice. Try to gauge how much you will need depending on the size of the storage container you chose to use.
3. Next, add your essential oils and mix well to combine. The dilution you need will depend on the amount of tinted moisturizer you make. I typically shoot for just a 1% dilution to keep things simple which means I can add 6 drops of essential oil for every 1oz of tinted moisturizer. You can figure out what dilution you need by visiting my article on the topic HERE.
4. Now it’s time to add the mineral foundation powder/liquid/concealer of choice.
5. Start with a small amount first and use the spatula to really smush everything against the side to mix. You don’t want any lumps so keep mixing until it’s completely smooth.
6. Use a clean utensil to scoop out a tiny amount and test the coverage on the back of your hand. Adjust the amount of mineral make-up you add until you reach the coverage you desire. This is why starting with less is key so that you can just as more until you reach the coverage you want.
7. You can even add a tiny bit of your favorite natural bronzer to give your skin a sun-kissed look.
I like to make small batches so that I can easily customize the shade or the essential oils as needed but you can make whatever size batch you like.
Just make sure to keep your utensils, hands, and storage container clean. I also try to use either freshly opened make-up or make an effort to clean off the surface of cream based make-up.
It’s best to use fresh unused makeup where possible if your hands, beauty sponges, or make-up brushes make contact with the product. This will help prevent bacteria from growing in your tinted moisturizer.
Also, if you’re using a homemade lotion as the base, you will want to consider using an all-natural preservative to keep things fresh and bacteria free.
However, if you’re using a store-bought moisturizer that already contains a broad-spectrum preservative, you will not need to worry especially if you make small batches.
Essential Oils
Here are a few essential oils you may want to consider:
• Frankincense – great for anti-aging and smoothing the skin
• Geranium – helps control excess sebum production
• German chamomile – helps control redness and evens out skin tone
• Helichrysum – heals blemishes and reduces the signs of aging
• Lemon (steam distilled only) – brightens dark spots and hyperpigmentation
• Rose – anti-aging, controls redness, and keeps skin supple
• Sandalwood – anti-aging, anti-inflammatory, and shrinks large pores
• Tea tree – kills acne causing bacteria and helps control future breakouts
You may also enjoy reading:
DIY Dry Shampoo Spray for Oily Hair!
Super Easy DIY Deep Moisturizing Treatment
DIY Pre-Shave Oil Recipe

Leave a Reply